Comprehensive Guide to Hosting a Next.js Website on a VPS with Ubuntu
Created At - 2024-08-29
Last Updated - 2024-08-29
Last Updated - 2024-08-29
Table of Contents
- Example IP used for this blog
- SSH Into the server
- Installing Nginx
- Generate SSH Keys
- Adding SSH Keys to GitHub for CI/CD
Example IP used for this blog
For this article, we will use the IP address 192.158.1.38 as an example.
SSH Into the server
To access your server, use the SSH command with your server's IP address.
On Windows (Open Command Prompt):
On Ubuntu (Open Terminal):
Installing Nginx
Update and upgrade the system after connecting to your server:
Install Nginx:
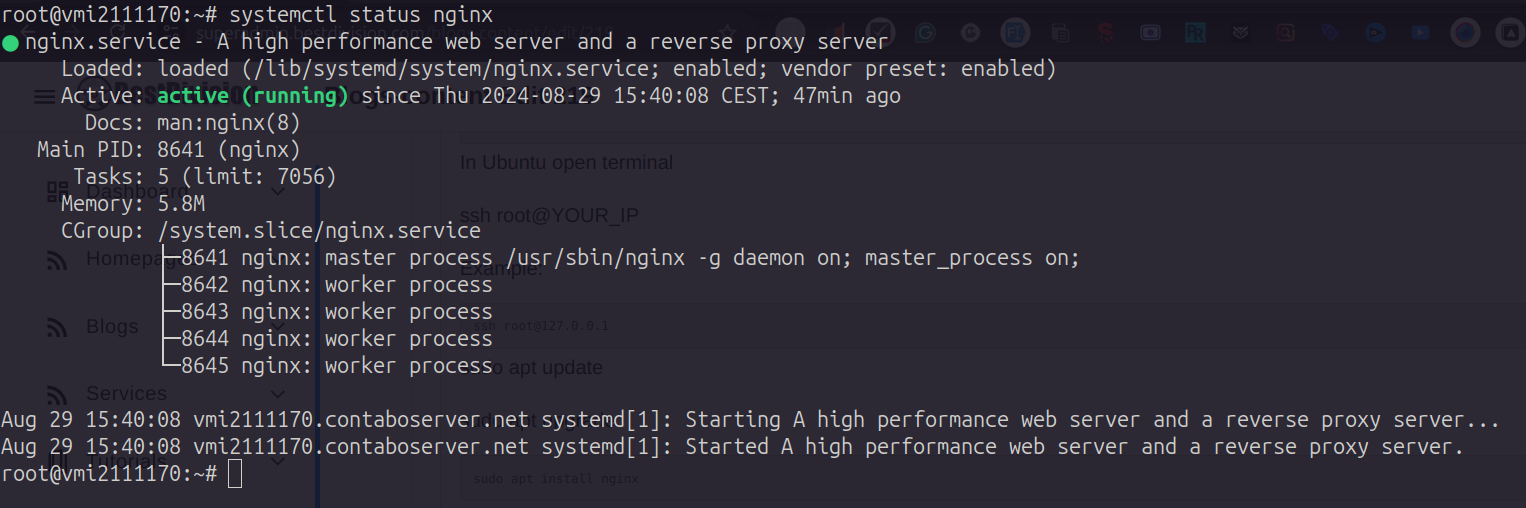
Check Nginx Status:
If everything is set up correctly, you should see output similar to the screenshot below.
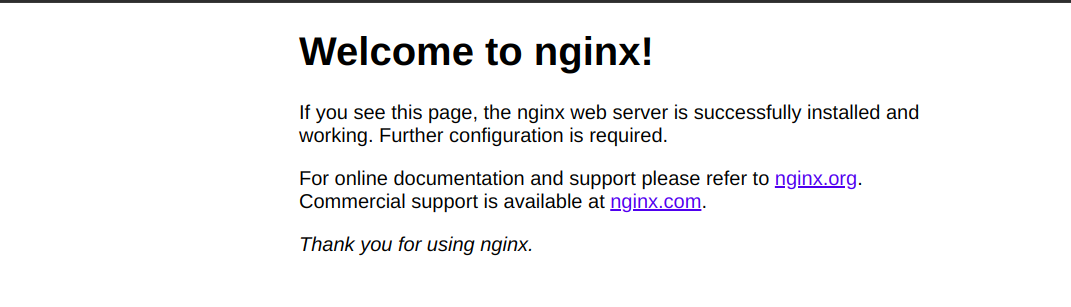
Open your IP address in a browser to verify the installation. You should see the "Welcome to Nginx" page.
Example: http://192.158.1.38/
Generate SSH Keys
When prompted, enter the file name to save the key (/root/.ssh/id_rsa), and then enter and confirm a passphrase. For CI/CD pipelines, it is common to leave the passphrase empty, though this is not the most secure option. I will update this guide in the future with more secure practices.
You should see a list of files in the .ssh directory similar to the following screenshot.

To view the public key, use the following command:

Adding SSH Keys to GitHub for CI/CD
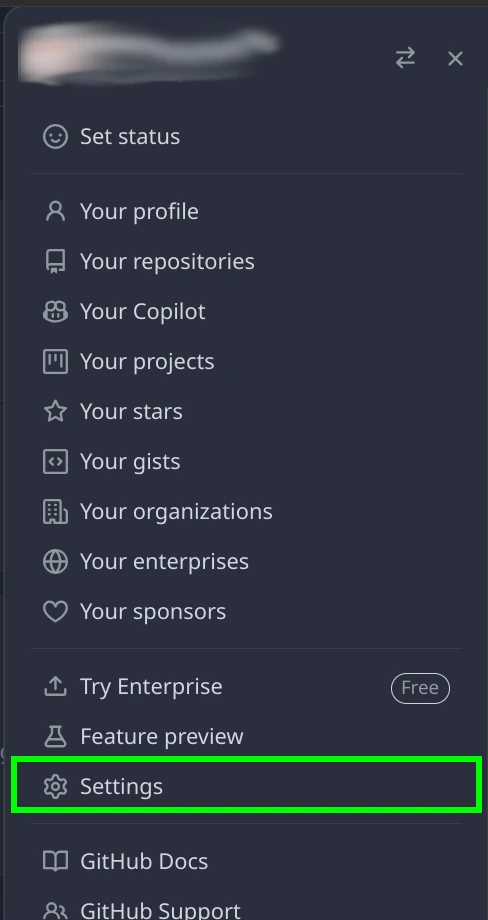
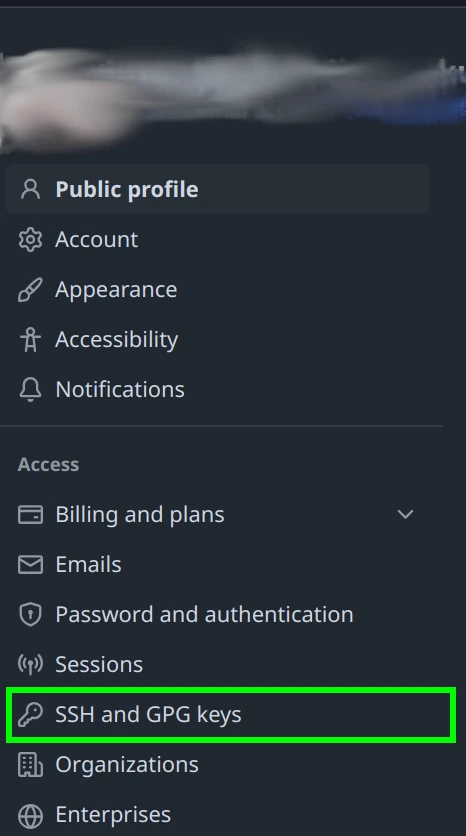
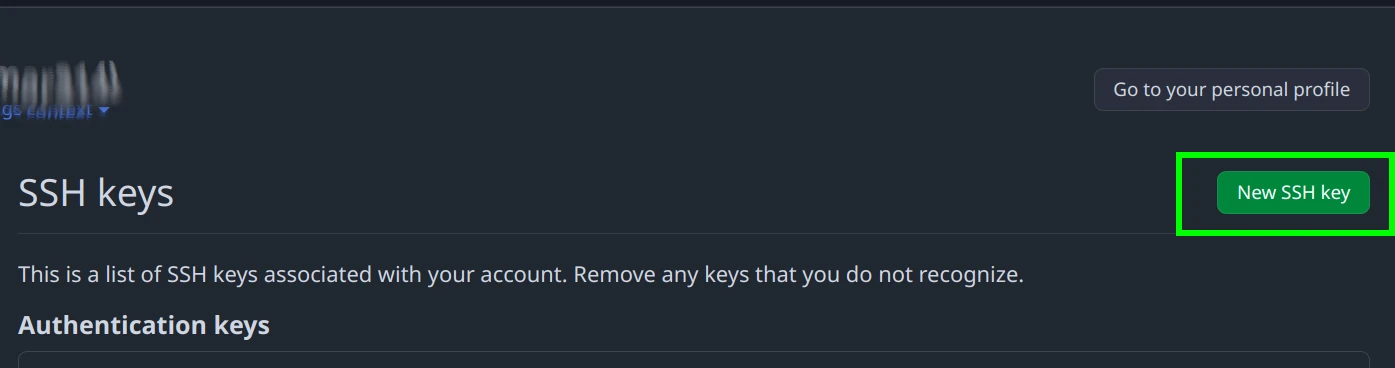
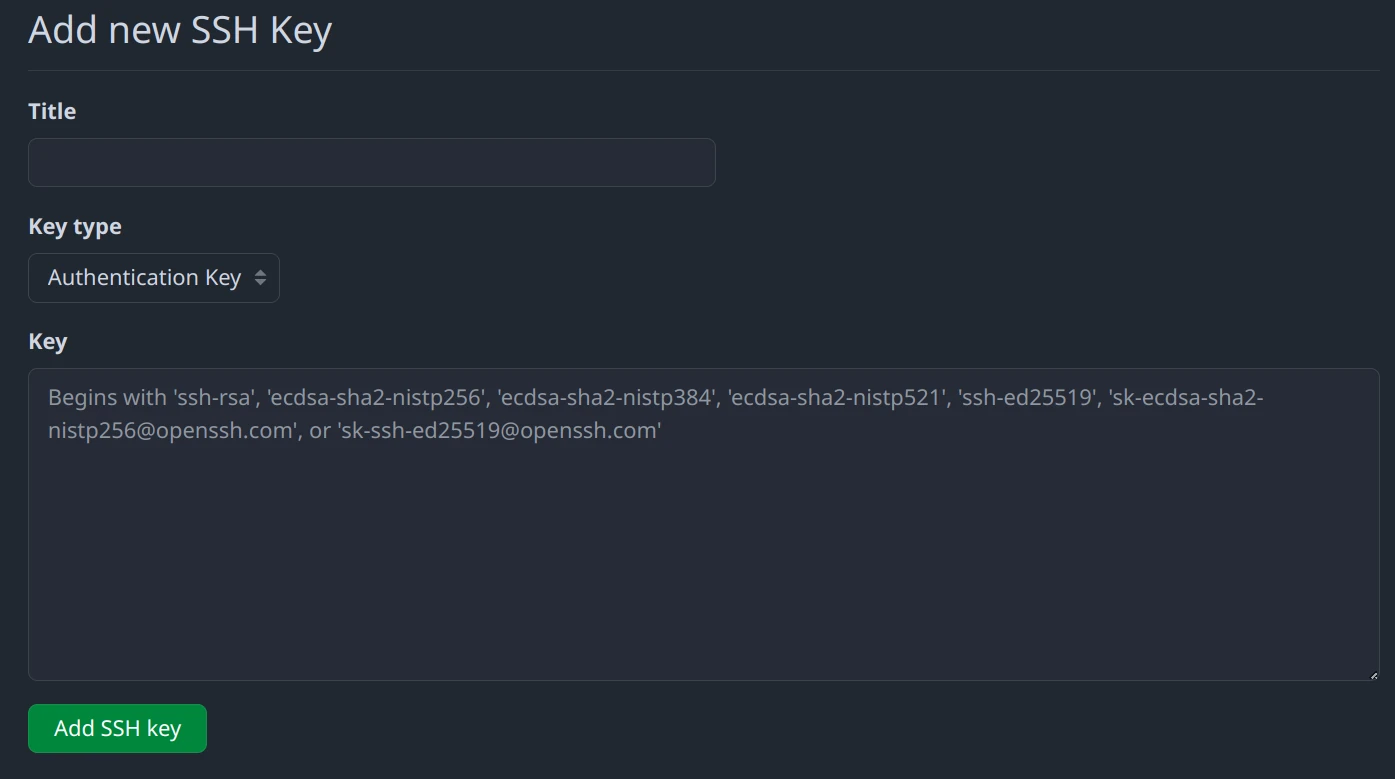
- Navigate to github.com → Settings → SSH & GPG Keys → New SSH Key.
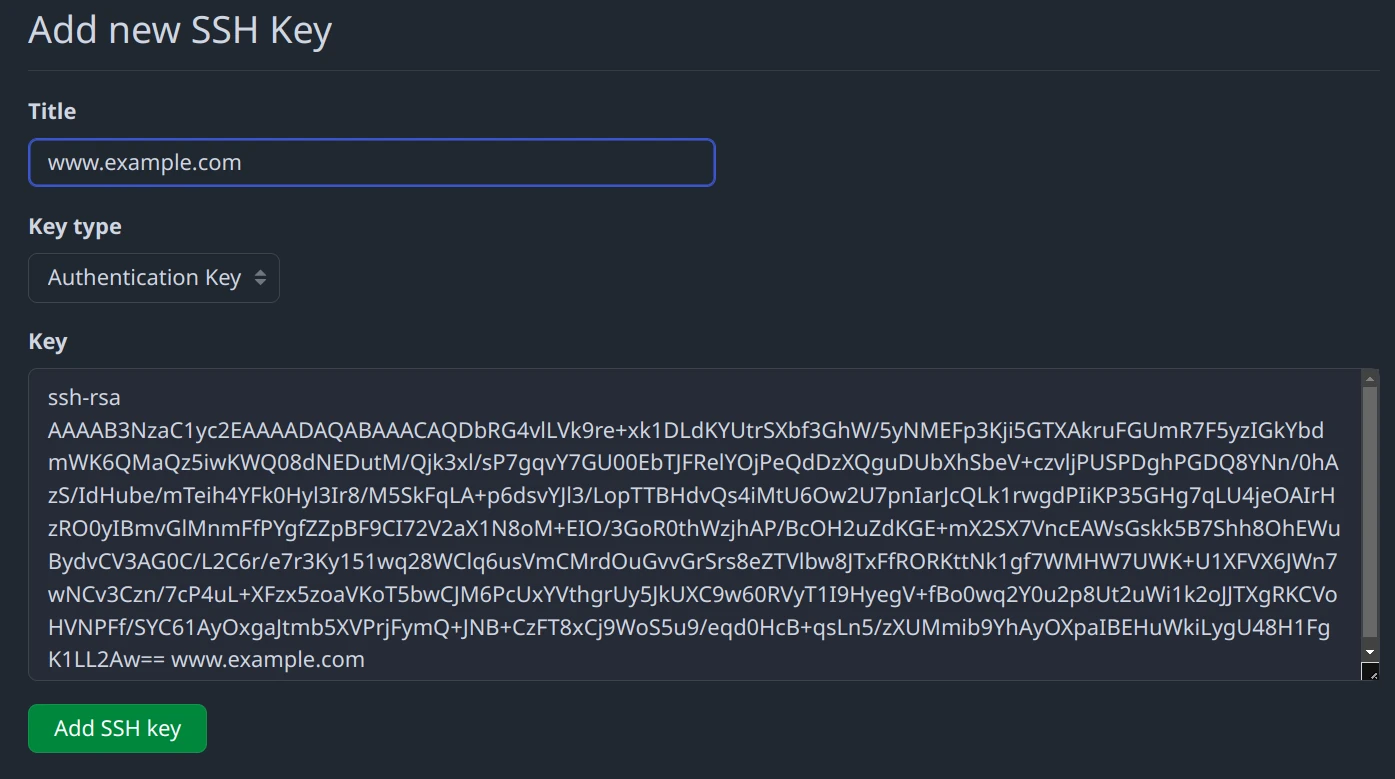
- Paste the contents of the public key (
www.example.com.pub) into the provided field.
Back in your VPS terminal, display the contents of the private key:
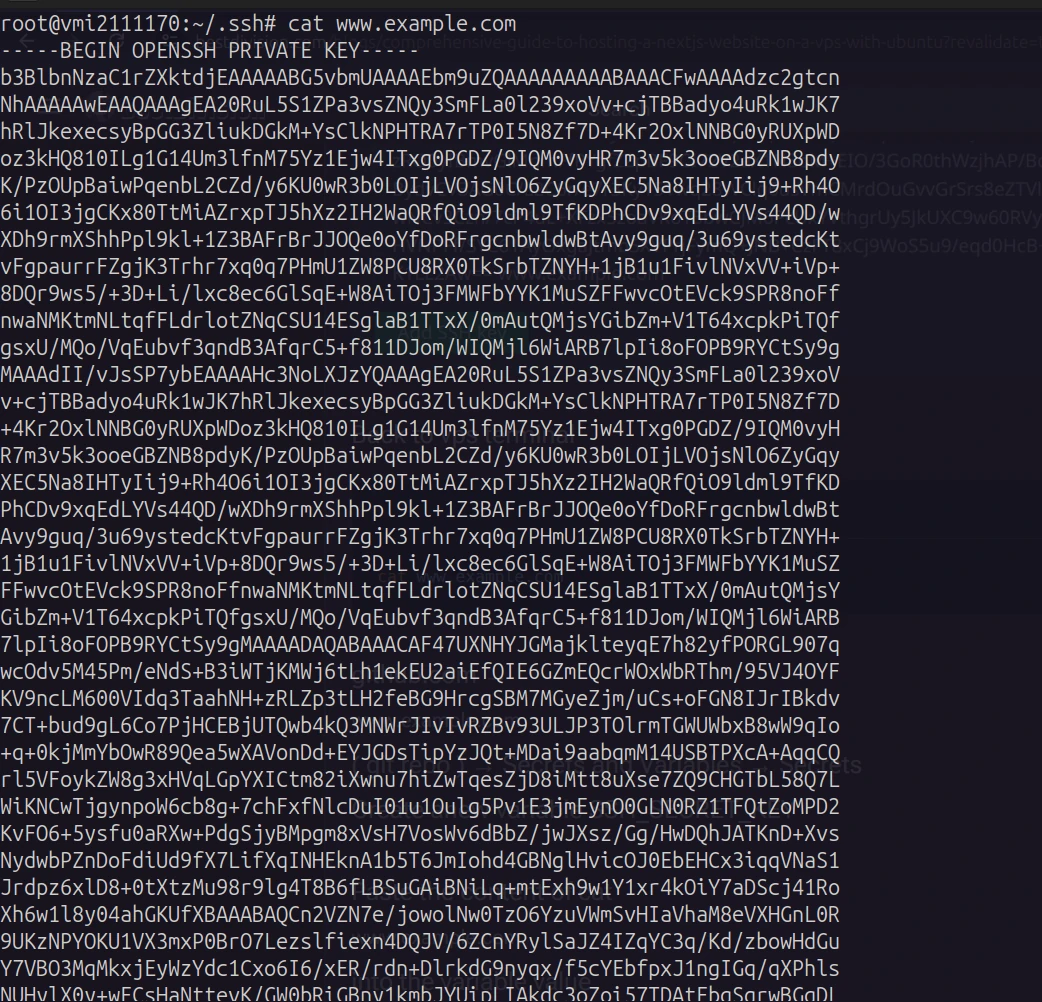
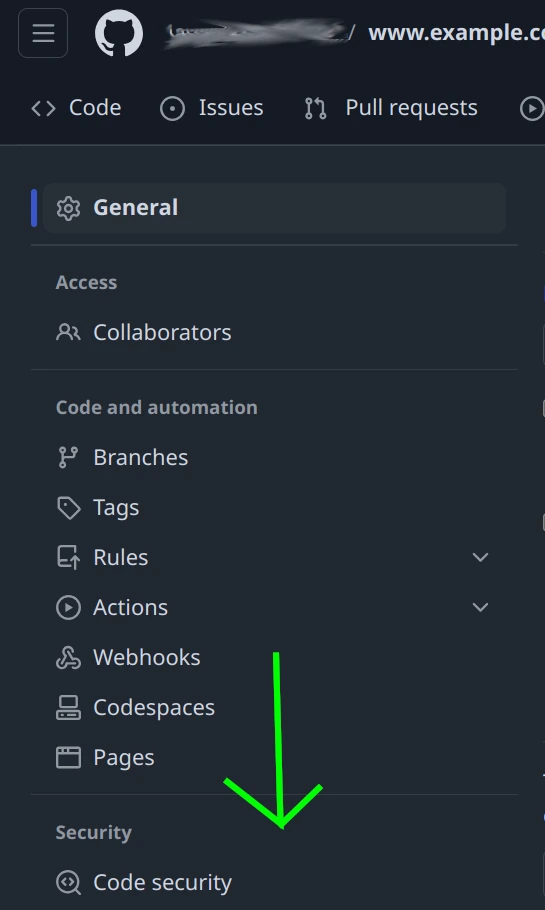
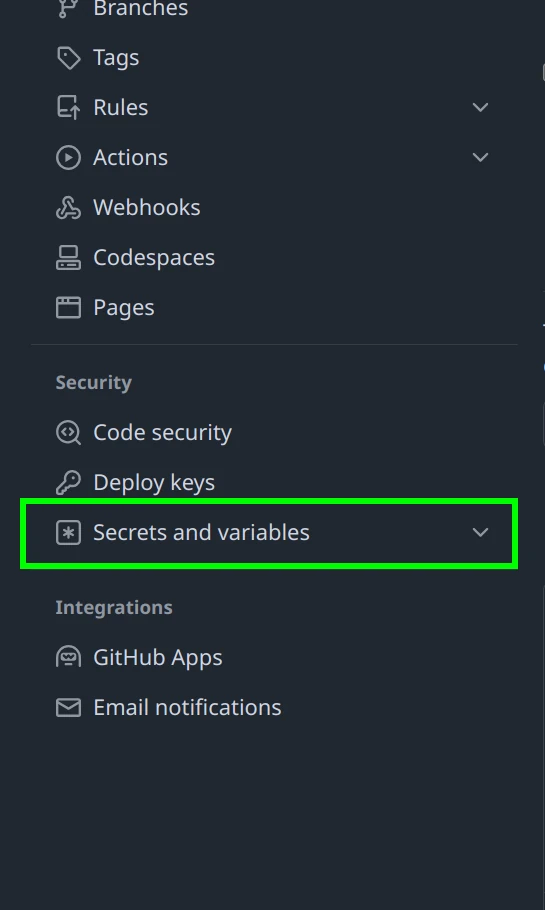
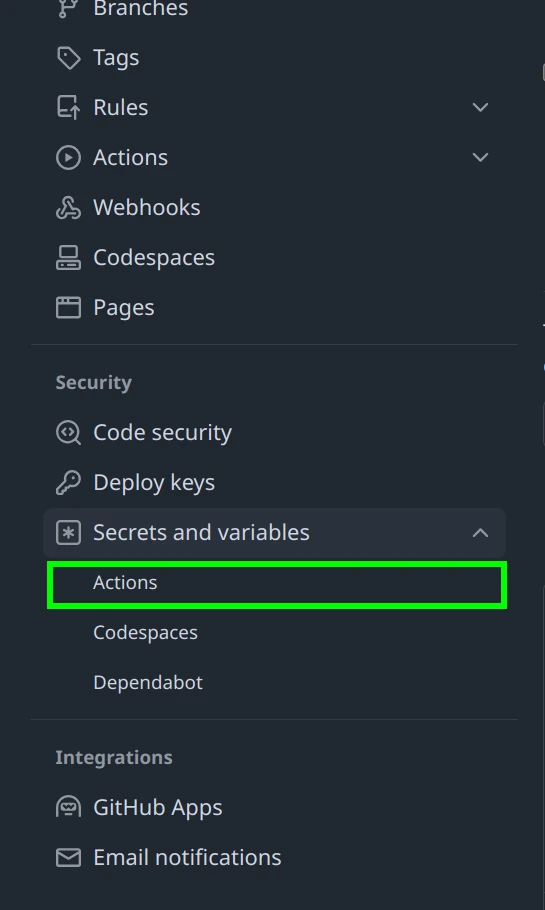
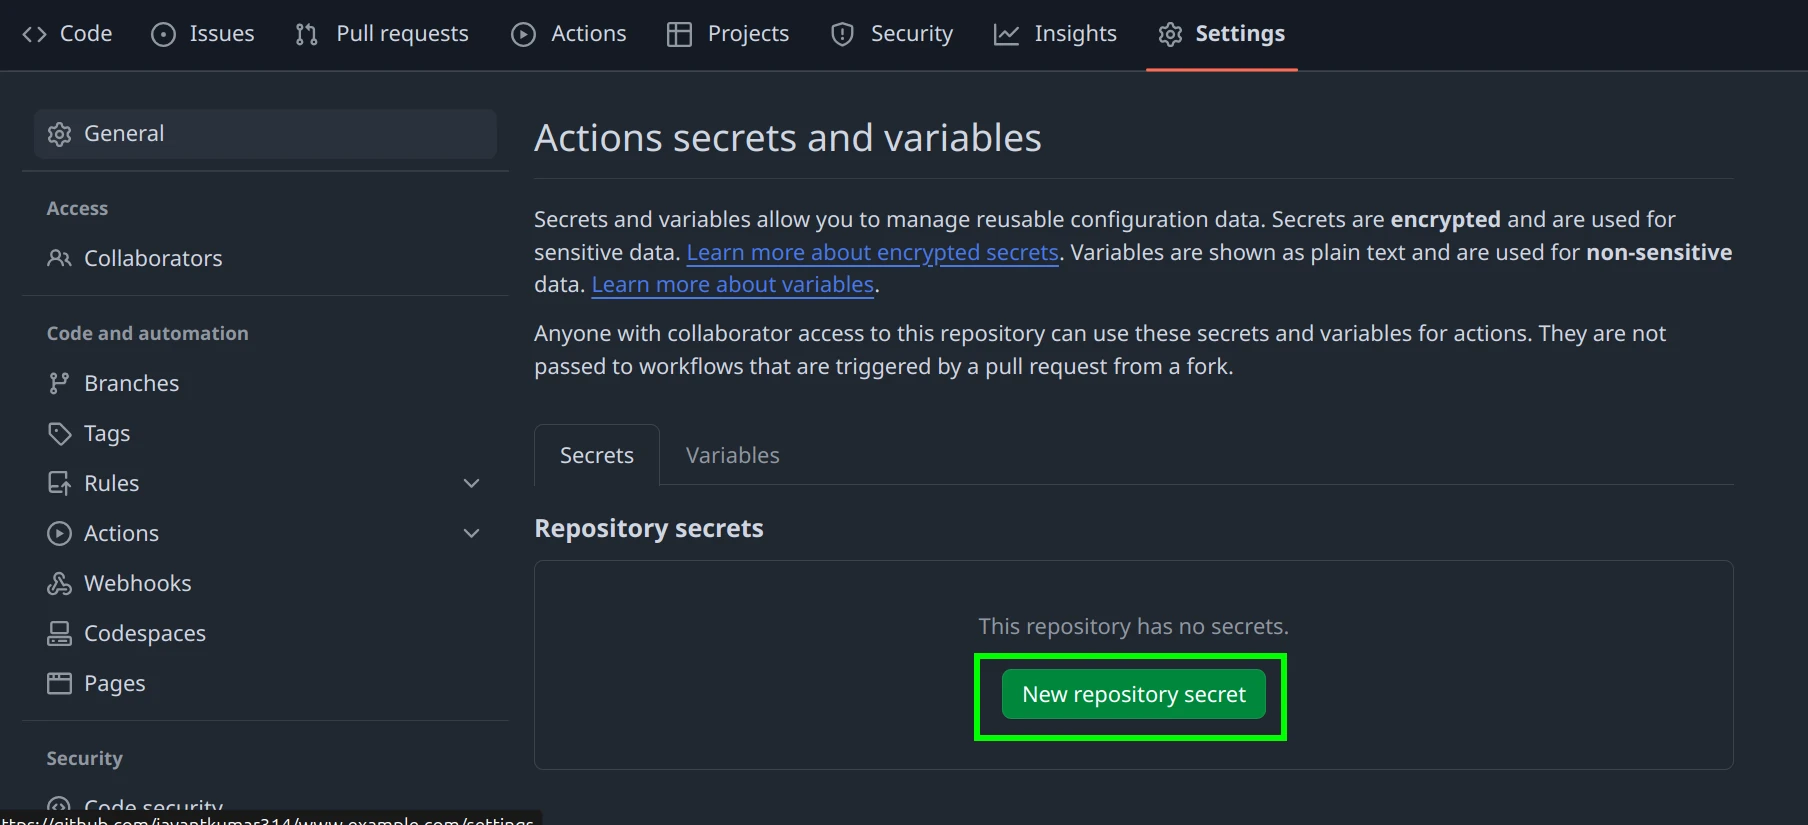
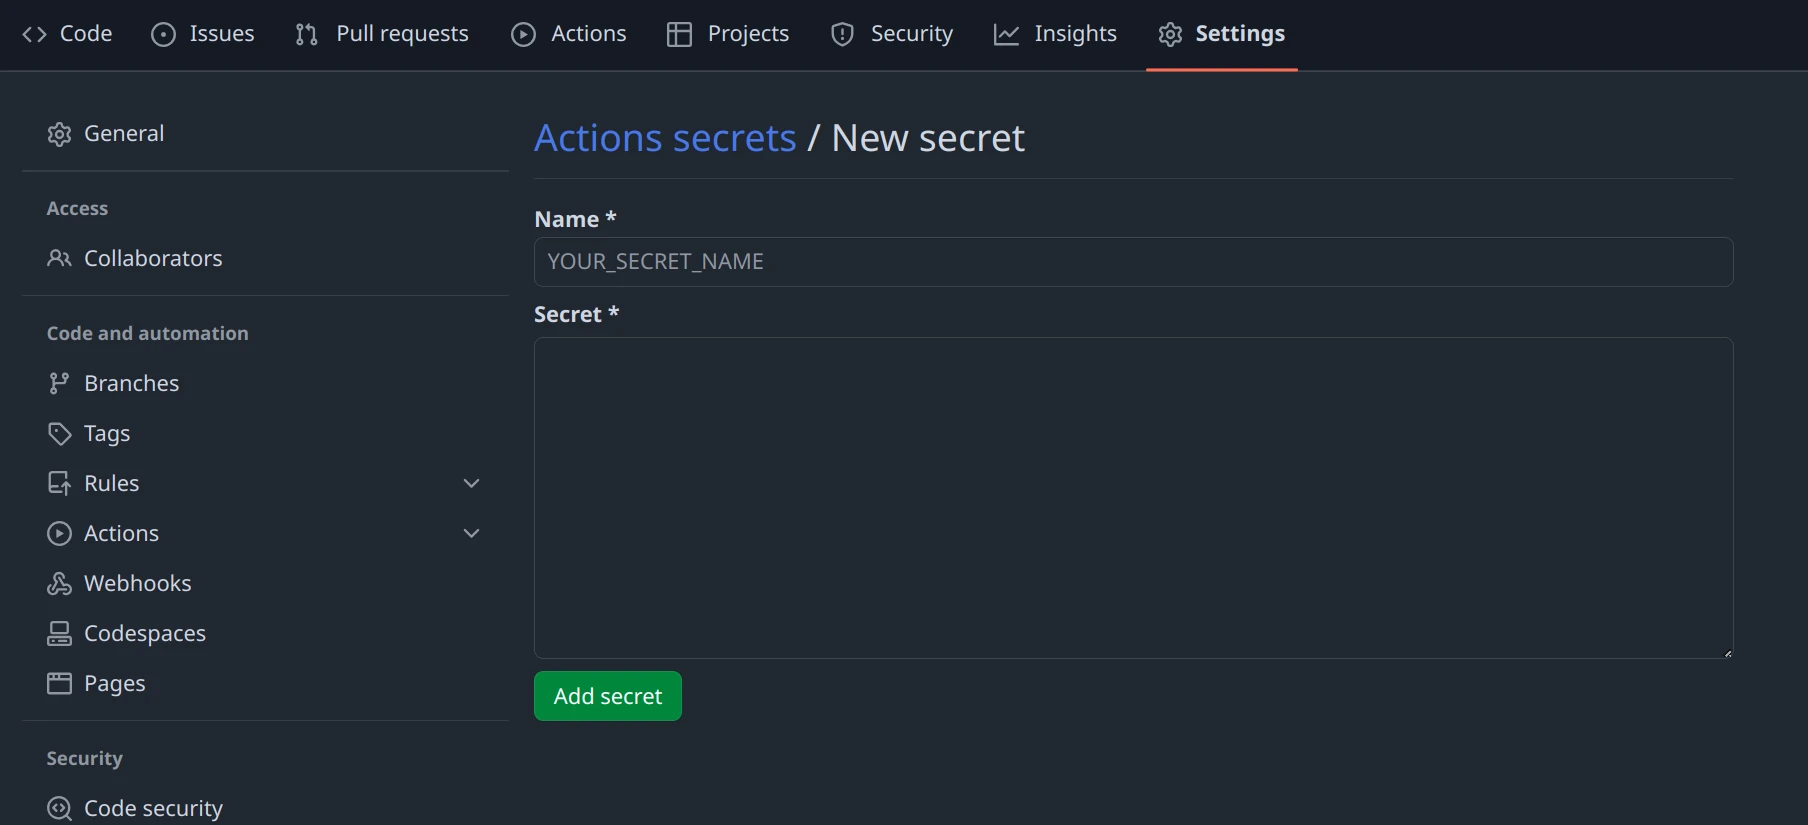
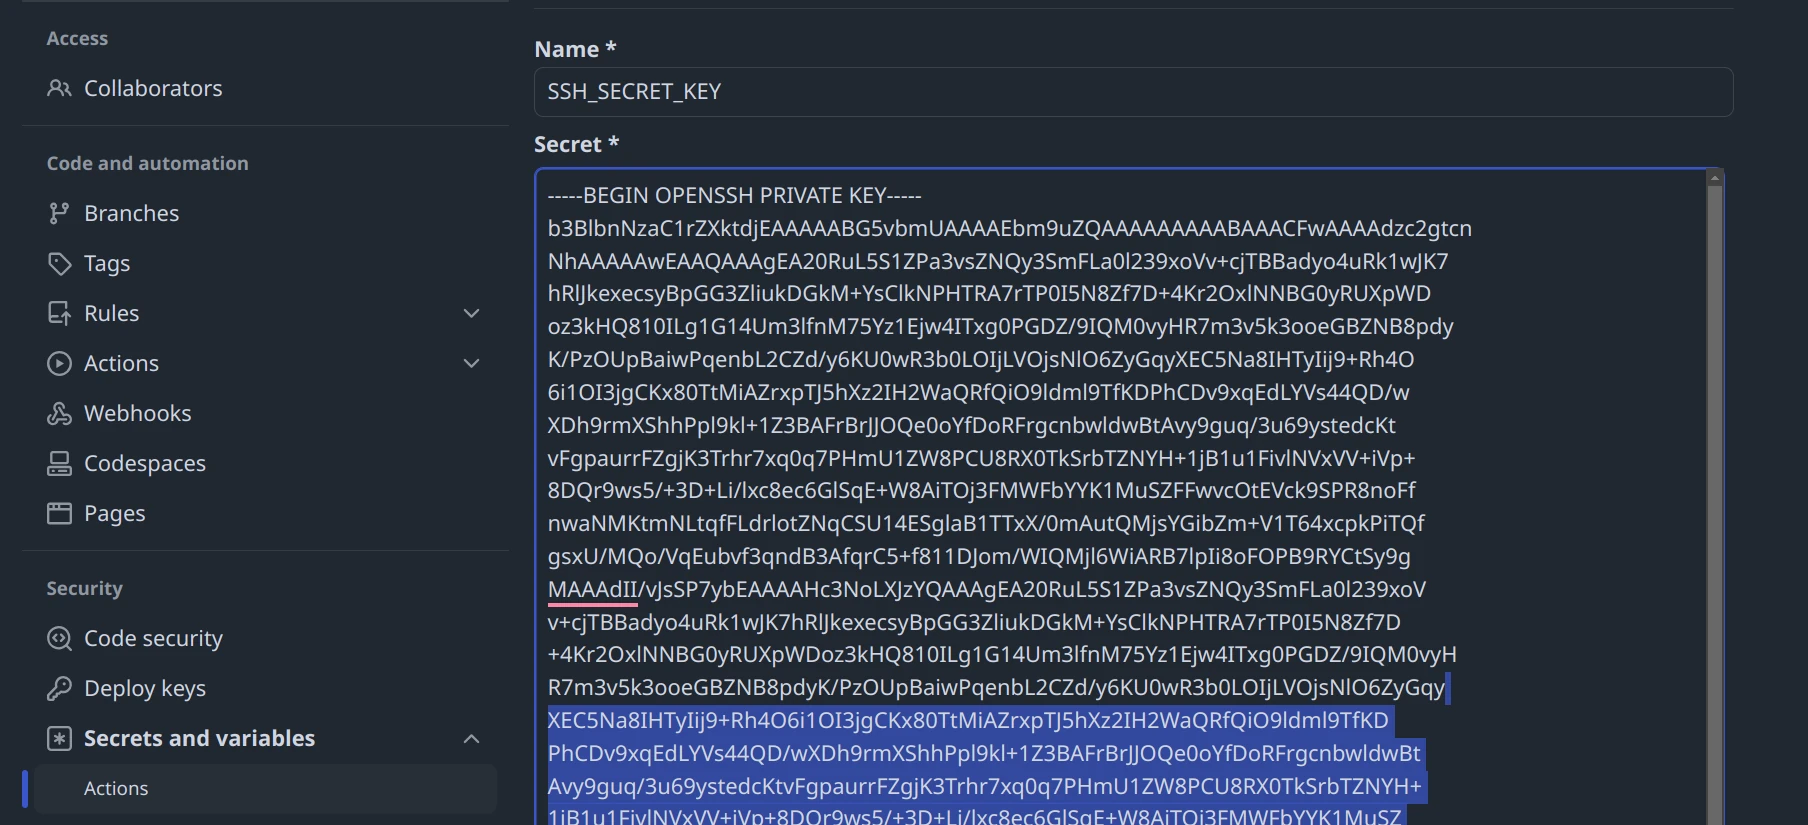
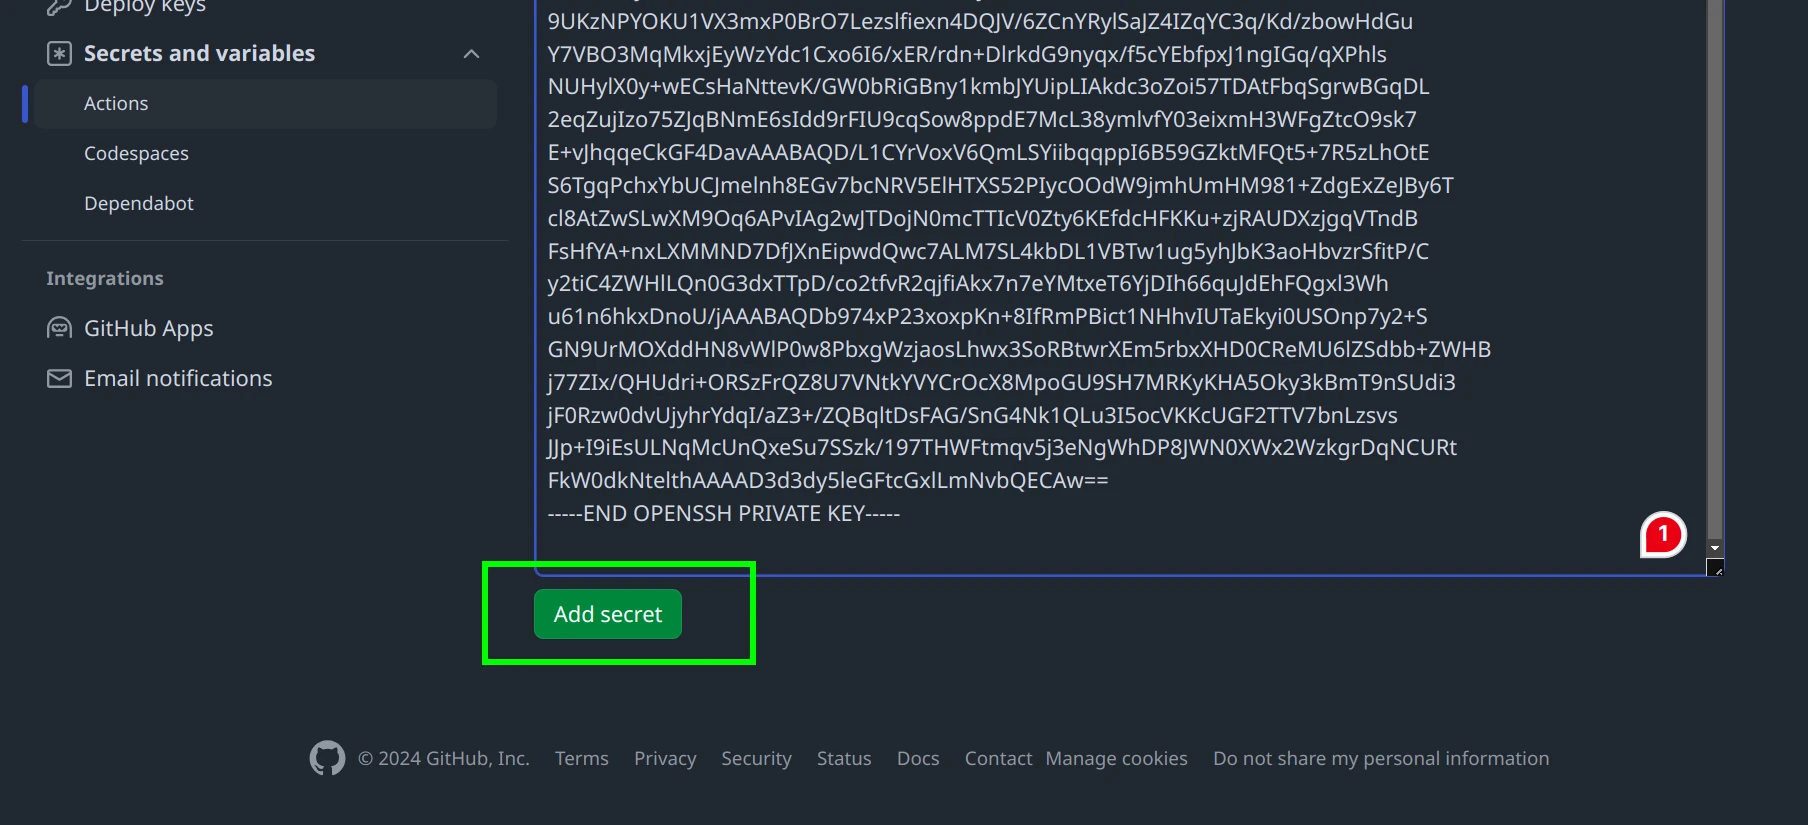
Go to GitHub → (your repository) → Settings → Secrets and Variables → Actions → New Repository Secret. Create a new secret called SSH_SECRET_KEY (or name it according to your preference), and paste the contents of the private key (www.example.com) as the value.

Back to the VPS terminal, append the public key to the authorized_keys file:

Verify the Contents of authorized_keys

If necessary, you can edit the authorized_keys file to remove any keys you don't recognize or if you added any key more than once:
After making your changes, press Ctrl + S to save and Ctrl + X to exit the editor.
-
-
-
-
-
-
-
-
-